
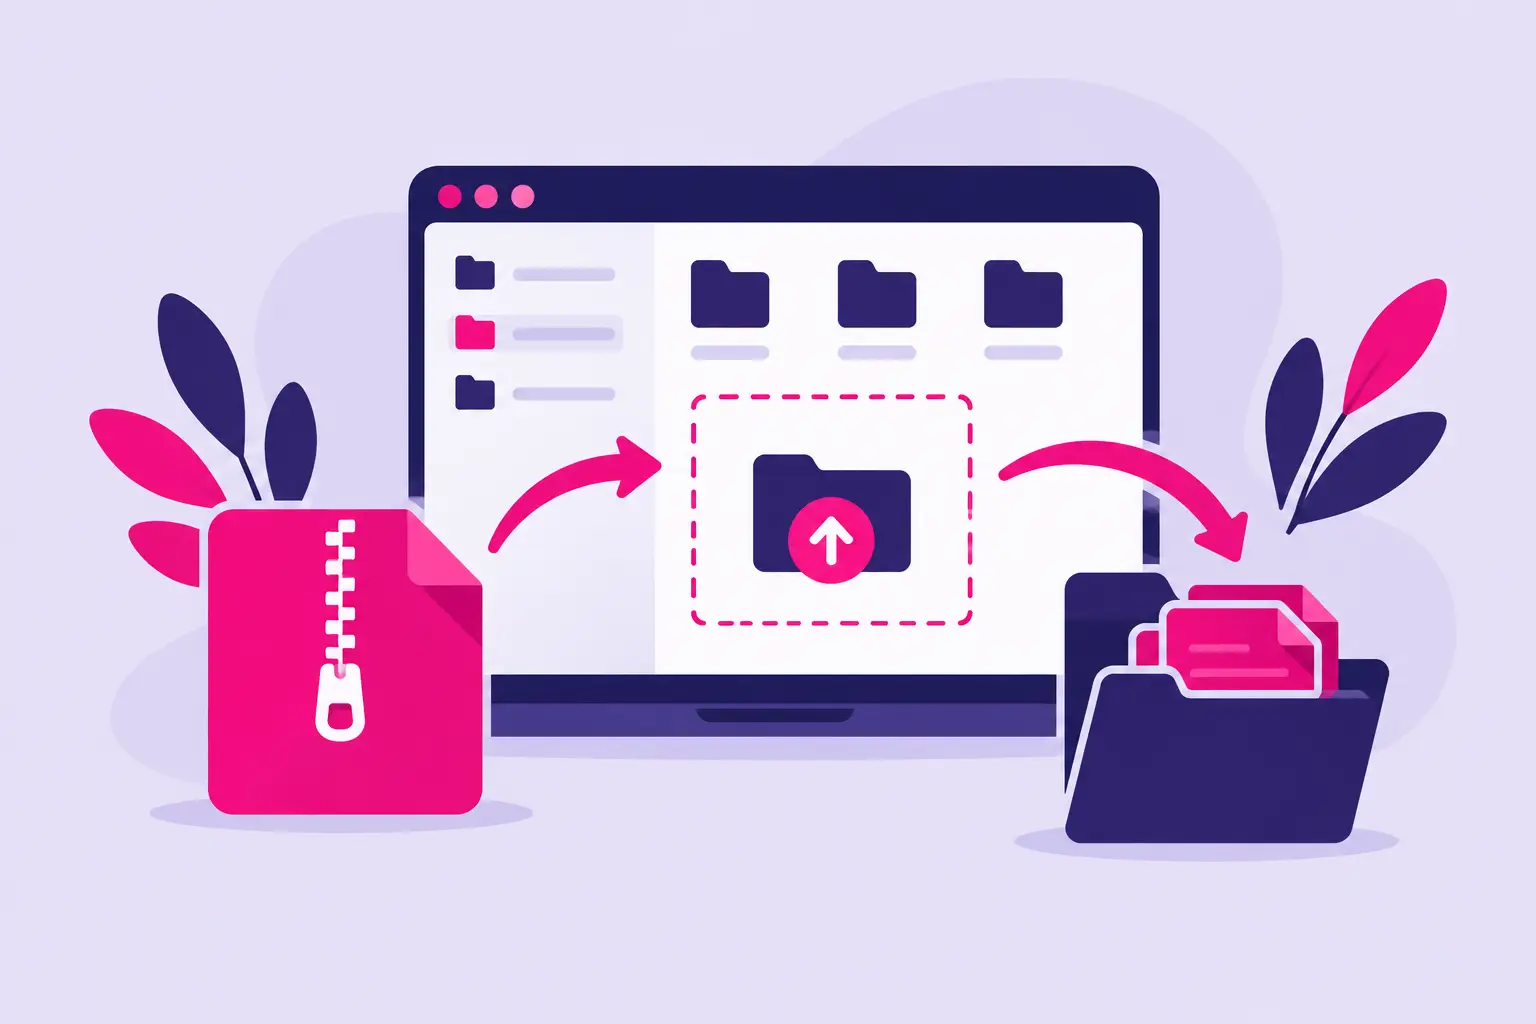
A ZIP file is often the fastest way to move a complete website, theme, backup, or folder of images to your hosting account. Instead of uploading hundreds of files one at a time, you upload one compressed archive and unpack it on the server. Knowing how to upload and extract a zip file in cPanel File Manager helps you make updates faster while avoiding one of the most common website mistakes: placing files in the wrong folder.
The process is straightforward, but the destination matters. Files extracted into public_html can be visible on your primary domain. Files extracted into a subdomain or add-on domain folder appear only at that address. Take a moment to confirm where the files belong before you begin.
Before You Upload the ZIP File
Start by checking the contents of the ZIP file on your computer. Open it locally and look at the first folder level. This small check can prevent an extra folder from appearing in your website address.
For example, if the archive contains a folder named my-site and all website files are inside it, extracting the archive into public_html creates a path like public_html/my-site/index.html. Visitors would need to enter yourdomain.com/my-site/ to see the site. If you want the site to load directly at your main domain, the archive should contain files such as index.html, index.php, and asset folders at its top level.
Also confirm that your ZIP file is complete and reasonably sized. cPanel accounts have available disk-space limits, and extracting an archive temporarily requires room for both the ZIP file and its uncompressed contents. A 200 MB ZIP file can expand to much more, depending on the files inside it.
Before making a major change to an existing website, download a backup or create one through your hosting tools. Uploading a file does not change a live site by itself, but extracting an archive with duplicate filenames can replace existing files.
How to Upload a ZIP File in cPanel File Manager
Log in to your cPanel account and open File Manager. In most cPanel layouts, it appears in the Files section.
File Manager displays the folders in your hosting account. The most common locations are:
public_htmlfor your primary domain- A named folder for an add-on domain or subdomain
- A separate folder outside
public_htmlfor files that should not be publicly accessible - A staging or test folder for trying changes before they go live
Open the folder where the files should be extracted. If you are installing a new website on your primary domain, that is usually public_html. If your host has configured a different document root, use the folder assigned to that domain instead.
Once you are in the correct folder, select Upload from the top toolbar. Choose the ZIP file from your computer, then wait for the upload progress bar to reach 100%. Do not close the browser tab while the transfer is still running.
After the upload finishes, select Go Back or return to File Manager. You should see the ZIP file in the folder you selected. If it is not visible, refresh the file list. A partially uploaded archive should not be extracted, so make sure the file size shown in File Manager matches the file size on your computer.
If the Upload Fails
A failed upload is usually caused by one of three issues: the ZIP file is larger than the account allows, the internet connection was interrupted, or the account has insufficient free disk space. Try creating a smaller archive or remove unneeded files before uploading again.
Files such as local backups, video exports, large image originals, and old installation packages can consume space quickly. If you do not need them on the server, keep them stored locally instead.
How to Extract a ZIP File in cPanel File Manager
In the File Manager window, click the uploaded ZIP file once to select it. Then choose Extract from the top toolbar. You can also right-click the archive and select Extract from the menu.
cPanel will ask where you want to extract the files. In many cases, the current folder is already filled in. Confirm that path carefully. If the ZIP file is inside public_html and you want its contents on your main site, extracting to public_html is usually correct.
Click Extract File(s). cPanel will unpack the archive on the server and display a results window when it is finished. Review that window for errors, then close it and refresh File Manager.
You should now see the extracted files and folders. Look for your website’s main file, usually index.html or index.php. If you extracted a WordPress site manually, you may see folders such as wp-admin, wp-content, and wp-includes.
Do not delete the ZIP file immediately. First, test the site or files to make sure extraction completed as expected. Once everything is working, remove the archive to recover disk space. Keeping old ZIP archives in your web folder can also create unnecessary clutter and, in some cases, expose downloadable backups to visitors.
Check Your Folder Structure Before Publishing
The most frequent problem after extraction is not a broken ZIP file. It is an extra folder level.
Suppose you open public_html and see a folder named website-files. Inside that folder are index.html, css, and images. If your domain should load the index.html file directly, move the contents of website-files into public_html rather than leaving them nested.
To do this, open the extra folder, select its contents, choose Move, and enter the correct destination path. Be careful not to move the folder itself if you only need the files inside it. After the move, refresh the directory and verify that the main index file is at the correct level.
If your account already contains a live site, do not overwrite files unless you are certain the uploaded version is meant to replace them. A safer approach is to extract the archive into a temporary folder first, inspect the structure, and then move only the files you need.
Set Safe File Permissions
Most files uploaded through cPanel inherit suitable permissions automatically. Standard website files normally use permissions of 644, while folders commonly use 755. These settings allow the web server to read your site while limiting unnecessary write access.
You can check a file or folder by selecting it and choosing Permissions. Avoid using 777 unless your hosting support team specifically instructs you to do so. Overly open permissions can create security risks and are rarely needed for a standard website.
Permissions are not always the cause of a site error. If your page shows a 404 error, check the folder location and file name first. If it shows a 500 error after an upload, review any .htaccess file, PHP version requirements, or application configuration included in the archive.
Common Problems After Extracting a ZIP File
If your site shows a blank page or errors after extraction, begin with the basics. Confirm that the files are in the document root for the domain you are visiting and that an index.html or index.php file exists there.
A missing stylesheet or image usually means the archive structure changed the file paths, or files were uploaded into the wrong directory. Open the page source or browser developer tools to identify the missing file path, then compare it with the folders in File Manager.
If cPanel reports that the archive cannot be extracted, the ZIP file may be damaged or use an unsupported compression method. Create a new ZIP archive on your computer and upload it again. Password-protected archives may also require a different process, depending on your cPanel configuration.
For WordPress, uploading the website files alone may not restore the full site. WordPress also relies on a database, configuration settings, and the correct domain references. File Manager is useful for moving the files, but a complete migration may require importing the database through phpMyAdmin and updating wp-config.php.
A Faster Way to Manage Website Files
ZIP uploads are especially useful when you are installing a static website, transferring a theme, restoring a file backup, or moving a large batch of images. They are often faster and more reliable than uploading many small files through a browser.
For routine edits to one or two files, use File Manager’s built-in editor instead. It is quicker, and it reduces the risk of overwriting a full set of live files. For larger changes, work in a test folder first whenever possible.
With dependable cPanel hosting, you have direct control over your files without needing server administration skills. If an archive fails, files land in an unexpected folder, or you are unsure what can be safely replaced, Visiba support can help you verify the next step before a small file task becomes a website outage.
A careful folder check, a current backup, and a quick test after extraction will keep your upload moving in the right direction.